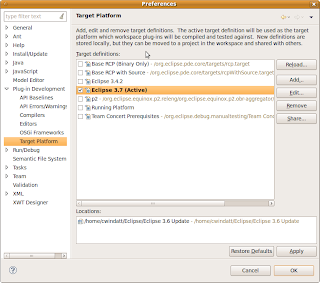
For more general information on Target Platforms, see my previous article. The Eclipse help doc also explains a lot about how to create p2 based targets and add content to them.
The Basics:
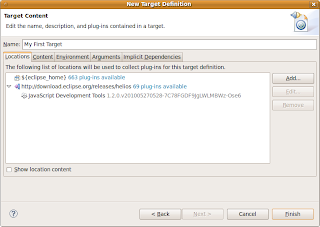
Target definitions are created using the preference page or the editor. To create a p2 based target, at least one 'software site' location must be added to the target. The actual site location is abstracted from PDE. A local zipped repo, a remote site or a local profile will all be treated the same. A software site location specifies a site (or a category such as "all available sites") as well as one or more Root IUs. The root IUs describe what is being downloaded from the site, they are often high level features that effectively group a collection of bundles.
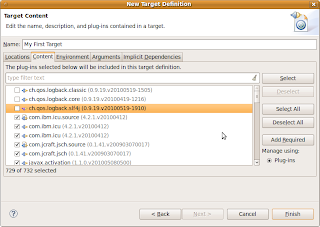
Target definitions must be resolved to modify the bundle list on the content tab or to set one as the active target platform. The resolve operation runs for each location independently. For most locations the resolve simply scans the location to get a list of file locations for bundles. In the case of a software site location, a more complex operation must be run.
Resolving Software Sites:
For each software site location, the following steps are taken:
- Load the repositories. This will create a queryable repository object. p2 will often request a repo's contents.xml file.
- Get the root IUs. If the location didn't already have actual installable units for the root units, the root IUs will be obtained from the site.
- Setup the planner or slicer. More on this later.
- Create a profile.
- Run the operation. Downloads and installs the units into the profile.
- Collect bundle locations for the target platform.
Important Locations:
The following directories describe where PDE/p2 stores information related to the target resolution. Those familiar with p2 can modify the contents of the directories to force things to be recreated or to use the contents for a special purpose.
Target Definition Files:
Where PDE stores the targets it creates from the preference page.
Profile Location:
Where profiles are created and persisted
Bundle Pool:
Where p2 will download the bundles to during the operation
Planning vs Slicing
Once we have one or more sites and root IUs, we run a provisioning operation to download the required bundles and install them into a profile. The operation can be done using a slicer, which is typically used for mirroring a site or a planner, which is used by Eclipse to safely install and update itself.
Which one to use is determined by the options at the bottom of the wizard when editing a software site location. If "Include required software" is checked the planner is used. If unchecked the slicer is used. The include all environments setting determines if environment properties are set on the slicer.
The planner behaves the same as though we were installing the root IUs into an application. Therefore it checks that the complete set of required IUs are available to be downloaded and installed. If any IU is missing, the planner will report an error saying that a requirement is missing. This can be convenient as you may not realize some important piece is missing from your target. However, the target does not need to be a complete, runnable install, so forcibly requiring everything may be optimal.
The slicer uses an operation that copies IUs from a remote site to a local location. The slicer does create a list of required IUs, however it does not fail if the requirements are missing. Instead it will download all requirements it can from the site or sites that have been provided. This is a lot more flexible than the planner as all available IUs (even IUs that don't apply to the current environment settings) will be downloaded.
Conclusion:
After the resolve operation is complete, a list of bundles will be returned (pointing to the local copies in the bundle pool). PDE will use the local bundles as the target.


